WP Rocket is a paid plug-in for WordPress acceleration.This plug-in provides multiple acceleration technologies, including file cache management, picture video loading management, database optimization, etc.At the same time, it can be seamlessly integrated with Maxcdn and Cloudflare ( Check the tutorial of using Cloud Flare), Manages Maxcdn and Cloudflare in the WP Rocket interface, and can greatly improve the performance and speed of the website.
- Wp rocket price
- WP Rocket purchase and installation
- Dashboard interface settings
- Cache interface settings
- File Optimization interface settings
- MEDIA interface settings
- Preload interface settings
- Advanced Rules interface settings
- Database interface settings
- CDN page settings
- Add-on interface settings
- Connect Cloudflace and WP Rocket
- Update WP Rocket cache
- At the end
Wp rocket price
WP Rocket is a paid service, but it is definitely worth it.Just need to set it once, the system will automatically optimize.No management and follow-up operations are required, once and for all.WP Rocket currently provides three different prices.You can go to the official website to view the specific ones Price List The
- Used for a website (Single): $ 39/year
- Used for three websites (PLUS): $ 99/year
- Used for unlimited multiple websites (Infinite): $ 199/year
WP Rocket purchase and installation
- Log in Wp rocket homepage, Click [Buy It NOW] in the menu bar;
- There are three paid options (Single, Plus, Infinite), select the button [Buy WP Rocket] below the corresponding column to enter the purchase page;
- After filling in the mailbox, name and other information, select the credit card (VISA, MasterCard, American Express, Discover) or PayPal for payment, click the bottom button [Place Order];
- After the payment is completed, log in to your account and download the WP Rocket plug-in.Please note that after the download is completed, you get a compressed zip file, which does not need to be decompressed;
- Open your website WORDPRESS control panel, click [Plugins] in the left functional area, enter the top [Add New] at the top, and then click the button on the top of the new page [Upload Plugin];
- In the file selection window, find the previously downloaded WP Rocket compression file, click [Install now] to complete the installation, and complete the activation of the plug-in;
- Congratulations, WP Rocket has been installed.Below, log in to the WordPress control panel.At the top, there will be a shortcut key for WP Rocket.Click you to see the following interface, so as to start the configuration of WP Rocket.
Dashboard interface settings
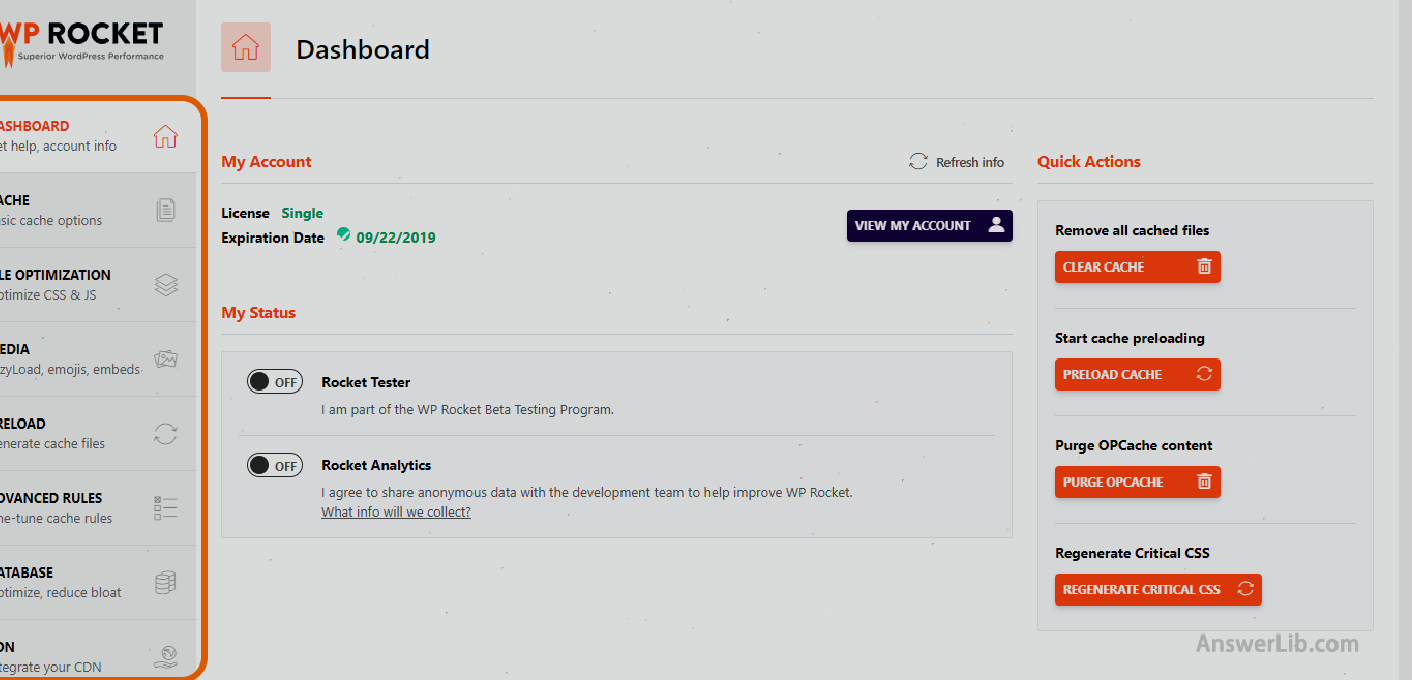
Click on the first option of the left functional area [Dashboard] in the WP Rocket interface, you will first see your License and expiration time, usually pay for one year.After that, you will see the following two options, as shown in the figure:

- Rocket Tester:& nbsp; Select whether to add WP Rocket test, we choose OFF;
- Rocket Analysis: Select whether to share your use record, here we choose OFF.
Cache interface settings
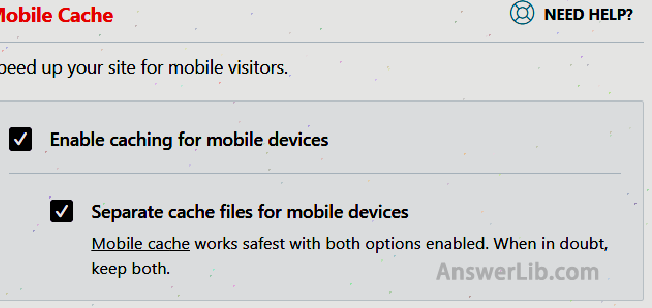
The cache interface contains three settings: mobile cache
- Mobile Cache: Whether we provide cache for mobile phone browsing webs, here we check all options.
- User Cache: Whether to provide cache for the visiting visitors.Here we do not check it, so as to provide cache for all website visitors.

- Cache livespan: Set the time to retain the cache, exceeding this time, the cache content will be deleted.Here we set up for 10 hours.At the same time, the [Preloading] in the circle in the figure below is used to re-create the cache, and we will see in the later settings.After the settings are completed, click [Save Changes] at the bottom.

File Optimization interface settings
This interface is mainly used to optimize the HTML, CSS, and JavaScript language programs used in web page writing, thereby accelerating the loading speed of the website.There are three main settings here:
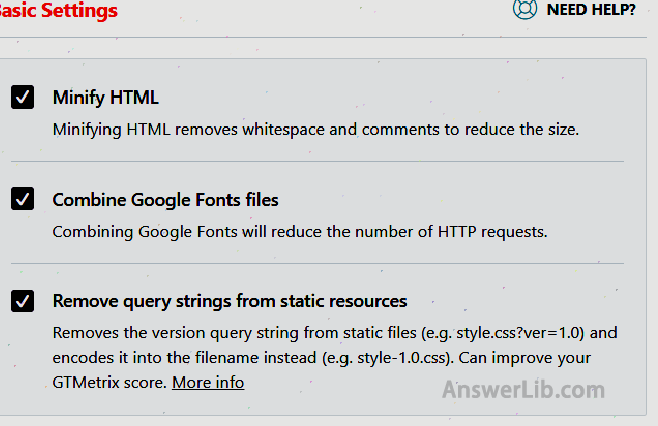
- Basic Settings: Here we check all the options.The first item is to reduce the size of the HTML file by deleting the blank area and program annotations; whether the second settings are merged with Google font; the third item setting is to remove the request parameters of the content of the static webpage.
- CSS FILES: Please check the following three items to reduce and optimize the CSS program used, so that the server has greatly accelerated the speed of reading and loading the CSS file.

- Javascript files: Check all the following options to reduce and optimize the JavaScript program to achieve the purpose of the website acceleration.After the settings are completed, click [Save Changes] at the bottom.

MEDIA interface settings
This interface is mainly setting the loading method of pictures and videos, and the following three parts are set:
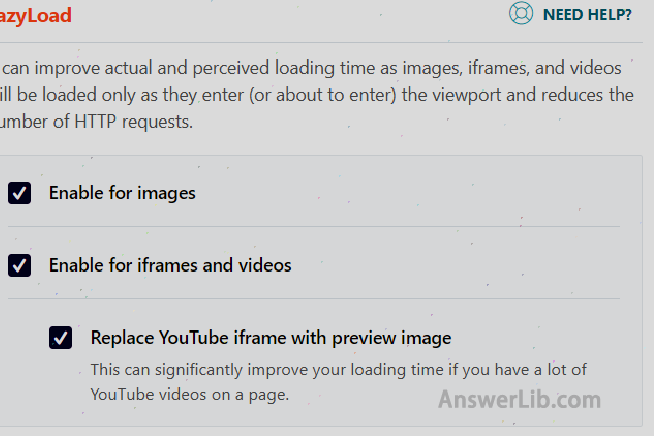
- Lazyload: Used to set the loading method of pictures and videos, and select whether to use lazyload.Lazyload refers to the loading of pictures and videos on the webpage.It does not need to be completed from the beginning.Only loading the webpage picture visited by the visitors, that is, if you have 20 pictures on your webpage, then when the visitor opens the webpageLoad all the pictures, just load the pictures that the visitors can see in the current screen.As the visitor turns over and browse more content, the system loads more pictures, which greatly accelerates the speed of the initial opening page.Here we check all the options in the figure below.
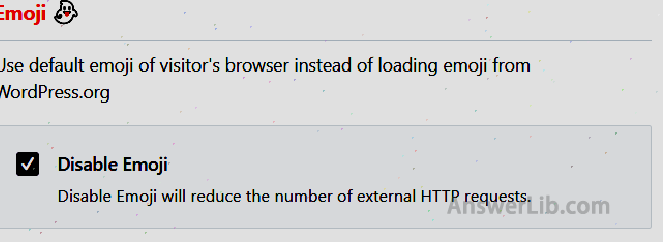
- Emoji: Try not to use Emoji when writing the content of the webpage, because loading emoji requires more loading time.You can check the following options to make the Emoji of the webpage work, thereby increasing the loading speed of the webpage.
- Embeds: Check the following options, so as not to use WOREPRESS EMBEDS function.After the settings are completed, click [Save Changes] at the bottom.

Preload interface settings
The function of this page is when the cache expires (we set the cache expiration time to 10 hours) to automatically load the new content of the webpage, thereby speeding up the speed of visitors to access the website.Here are three content that needs to be set:
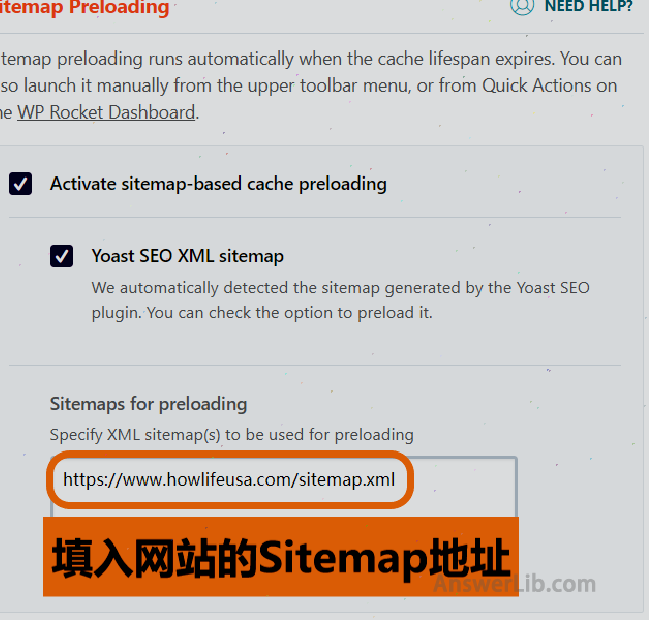
- Sitmap preloading: Sitemap shows the framework of the entire website content.You can use Yoast to create the sitemap on the website (Click to view yoast to create a sitemap tutorial) After the creation is completed, check the two settings below, so as to pre-loaded the sitemap on the website when the cache expires.At the same time, fill in the sitemap address of the text box called “Sitemap for Preloading” in the text box.https: // website domain name/sitemap.xml Essence
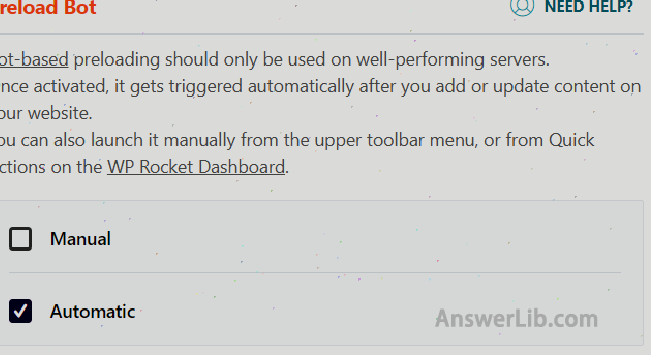
- Preload bot: Check [Automatic] so that the server can automatically update the pre-loaded items.
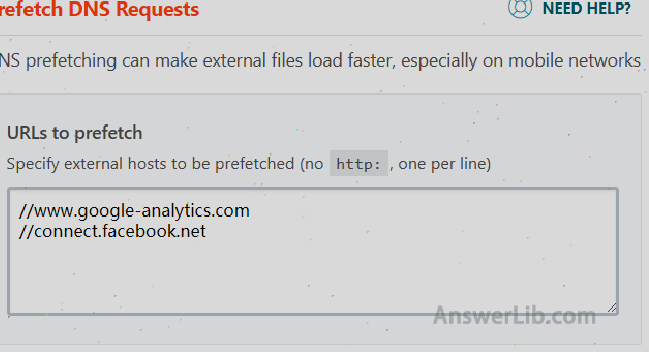
- PreFETCH DNS Requests:Set the third-party service website address that needs to be loaded in advance.In the “url to prefetch” text area in the figure below, fill in the website address of the third-party service used by your website.In the following example, we used Google Analysis and Facebook application, so we filled in the address of the two websites.Please note that when filling in the website address, save “http:” or “https:”, and at the same time, each line only fills in one address.After the settings are completed, click [Save Changes] at the bottom.
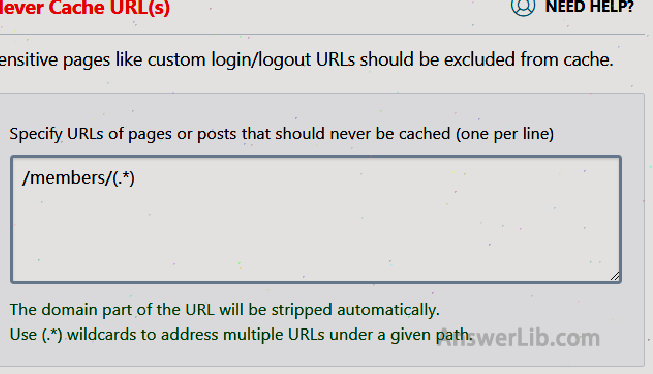
Advanced Rules interface
- NEVER CACHE URLS: Set up a page that does not require cache.You can fill in the URL that does not want the cache page to be filled in the text area below.For example, you have a login page of the e-commerce webpage, and you may not want to cache this page.Here we do not fill in any information.
- NEVER CACHE COOKIES: Set Cookies without cache.If there is no option, keep gapped without filling.

- AlwayS PURGE URLS: When setting on a more blog page or web content, you need to clear the cache page.For example, your webpage homepage lists all the blog content.When the content of the blog increases, then you may need to update the cache content of the homepage.Here we keep blank.

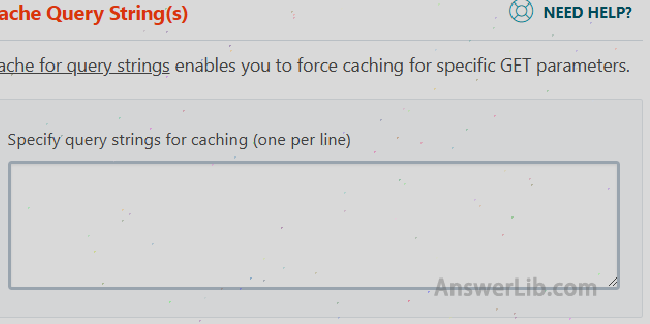
- Cache Query Strings: Setting the cache parameters, we keep here blank.After the settings are completed, click [Save Changes] at the bottom.
Database interface settings
This interface is used to optimize the structure of the database and clean up the complicated content of the database.This interface is different from other interfaces.Other interfaces mainly set up acceleration parameters, which only save the settings, but it is not executed immediately.However, the function of this page is to optimize the database immediately, so click the bottom button [Optimize] before, please back up your database.You can view blog[How to back up the wordpress website]Essence
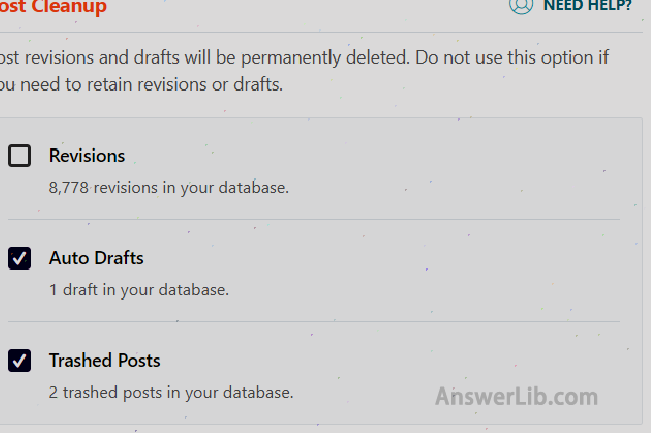
- Post Cleanup: Delete the historical modification records of the blog page, delete automatic stored drafts, and delete blog pages in the trash can.Here we generally only check the second and third items, instead of selecting the first item, because we often need to use the historical records of the blog page to find the previously written content.Of course, you can also click the first item to delete more content to occupy website resources.
- Comments Cleanup: Delete false reviews and junk comments on the website.

- Transients & nbsp; Cleanup: Delete the transient file.Many files are temporary files used by the website plug-in.After deleting, if the plug-in is still needed, it will automatically rebuild again.Please check all the options here.

- DataBase Cleanup: Clean up and optimize the database structure, please check the following options.

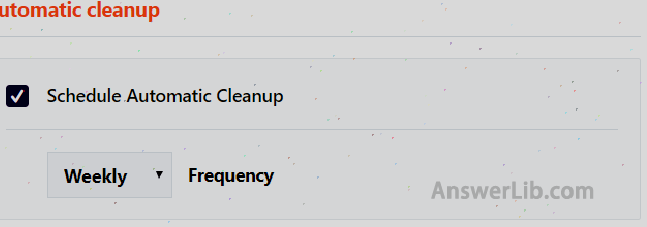
- Automatic Cleanup: You can set the process of optimizing and cleaning the above settings.Here we set up [Weekly], so every week, WP Rocket will automatically optimize and clean up a database to keep the database structure in the optimal state.
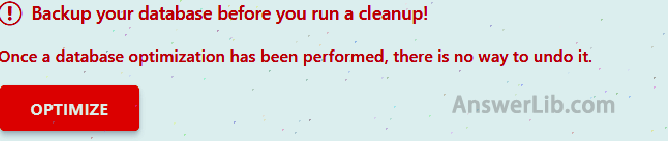
After the all settings are completed, you will find a [Optimize] button at the lower end of the page and a prompt “Backup your database before you run a cleanup! & Nbsp; One database optimization has performed, then is.no way to undo it.“”It is to warn you to make a backup when optimizing and cleaning up the website database to prevent optimization, some important files are lost.When you back up the database, please click the button [Optimize] to optimize the database.
CDN page settings
- CDN: CDN refers to the Content Delivery Network (Chinese called “content distribution network”.Before setting the following options, you need to set up Maxcdn in advance, click to view [[Maxcdn use tutorial]EssenceAfter setting up, return here, check the “Enable Content Delivery Network”, and enter Maxcdn’s CNAME in the text area below.

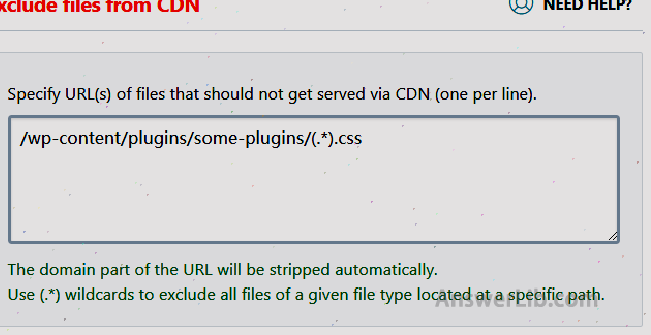
- Excludes Files from CDN: If any webpage does not need to use CDN, you can list the URL of the specific webpage in the text area below, and each URL takes up one line.Here we keep blank.
Add-on interface settings
This interface allows users to add third-party services for the integration management of WP Rocket.Here we set up the following two items: Google Analytics and Cloudflare.
- Google Analytics: Before using this project, you need to implement the connection between Google Analytics and current WordPress.

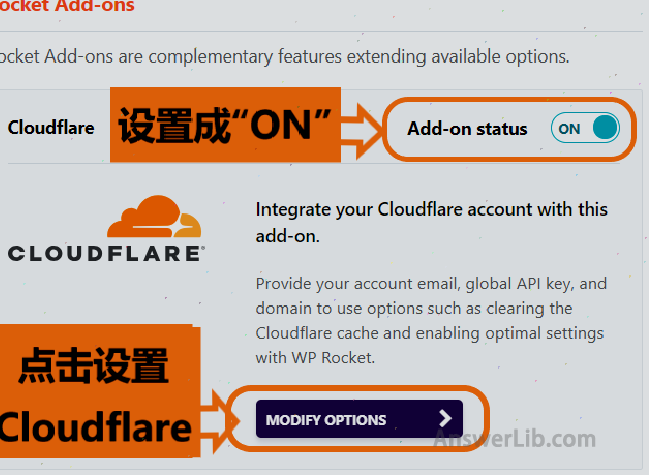
- Cloudflare: Cloudflare is a completely free service for CDN and website security protection.You can refer to it 【Cloudflare Tutorial】 Set Cloudflare for your website, and then return here to complete the settings and integration of WP Rocket.Please set the following options “Add-on STatus” to ON, and then click the bottom button [Modify Options] to connect settings with Cloudflare and WP Rocket.
How to connect Cloudflace and WP Rocket?
Enter the connection interface between Cloudflare and WP Rocket, please enter three information obtained from the CloudFlare account:
- Cloudflare Credentials: These three information are the information you use when you register for cloudflare:

Global API Key: This ID is for your CloudFlare account.Click here Enter your cloudflare username and password, roll the mouse to the lowest end of the page, find the Global API option, select the right button [View] to see your API Key, and copy it to the label 1 in the figure above.
Account email: This is your cloudflare account mailbox, enter the label 2 in the figure above;
Zone ID: This ID is for different websites in your Cloudflare account.Each website you set will have corresponding Zone ID.Log in to your cloudflare Enter the username and password.After entering the account, click the website you set, roll the mouse to find the Zone ID in Domain Summary, and copy the content to the label 3 in the figure above.
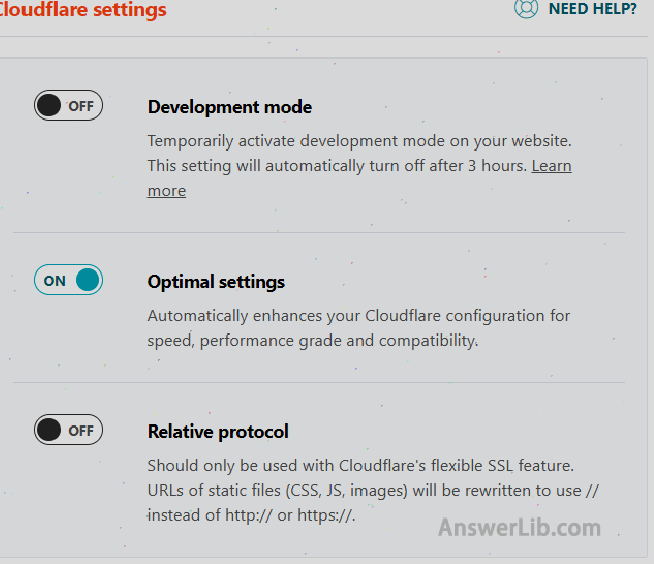
- Cloudflare Setting: Select the settings of Cloudflare.Here we just set the second “OptImal Setting” to ON.
- Cloudflare Cache: After setting, please click the dark blue button in the figure below [Clear All Cloudflare Cache Files] to reset the Cloudflare cache content.Finally, click the orange button [Save Changes] to complete all the settings.

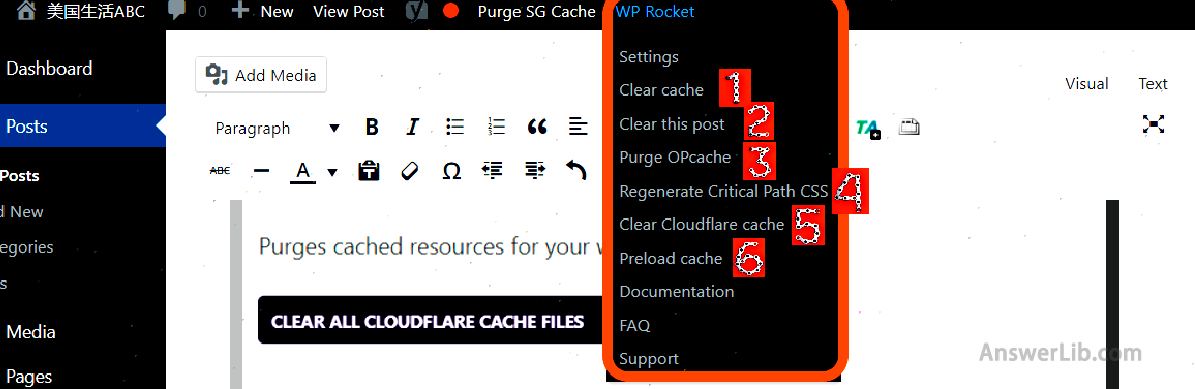
Update WP Rocket cache
In the top functional area in the WordPress control panel, find the button [WP Rocket], click the option (1-> 6) in turn, and complete the cache deletion and reconstruction.
At the end
Congratulations, you have completed all the configuration of WP Rocket, and the entire website should be renewed!
please use Gtmetrix or Pingdom Re-detect the speed of the website and the website indicators (PageSpeed and YSLOW).After the optimization, most projects should become green, and the speed will be greatly improved.Congratulations again!
What needs to be pointed out here is that the use of WP Rocket is only part of the systemic WordPress acceleration and optimization.You can view the complete [WordPress website acceleration and optimization tutorial], Make the loading speed of the website more improved.
If you still have more questions about the use of WP Rocket, please leave your questions or comments at the end of the article, and we will answer it one by one.
Please use the mailbox to subscribe to our channel below, and keep up with the latest WordPress site construction related articles!